Once you get used to it, you can – if needed – only use the basic commands within vim and still be faster than your average IDE, or text editor whichever you prefer really.
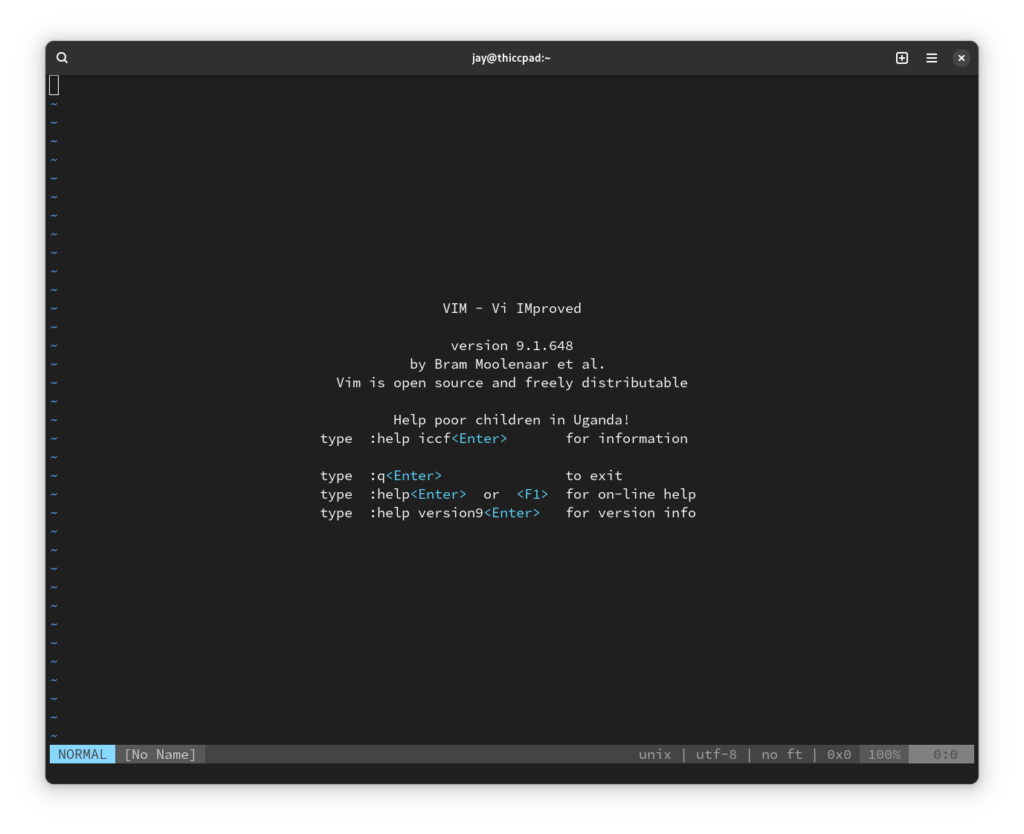
Above is my installation of vim on my ThinkPad T470p, which is ironically named “thiccpad“. Makes me crack a laugh every time. Now, vim is a wonderful piece of software since it has the option to be expanded more than Windows Notepad (duh), or even just about any version of iOS, MacOS, or Windows – probably.
Either way, using the pretty simple .vimrc file, you can control every single aspect of your vim installation, but for now let’s focus on the basics shall we?
Installation
On an Arch-based distro:
- pacman -Sy vim
On a Debian-based distro:
- apt-get install vim -y
Then simply run the command vim in your terminal and boom, you’re in. That’s the easy part done.
Basic Use (CMD/s)
Congratulations, most people give up and turn off the computer just to leave vim at this point because they can’t figure out that they need to type :q to leave vim, or to quit and save while in a file :wq, or even to quit but not save changes while in a file :q!
Remember! To execute a command, or to enter NORMAL mode, press the ESC or escape key. To enter insert mode, press the i key.
To open a file, you’d simply run :o <path_to_file> , alternatively if you have the plugin called NERDTree, you’d run :NERDTree to open the navigation menu (simples!).
To save to a specific file, use the :sav <path_to_file> command. Fun right?
Plugins, etc blah blah nerdy mumbo jumbo
If you want to use plugins with vim, you’ll need to use a plugin manager, or VIM 8+’s built-in package management feature.
Remember, you’ll need to configure a .vimrc file for any plugins to work, however its really not that hard to configure.
These are some popular VIM package managers. Personally I use Vundle, but have a look through and pick whichever one sparks your fancy. I’m not going to go into plugin installation within this post (sorry lol)